
How to Easily Replace a Worn Clock Mechanism: The Ultimate Guide
Has your favorite wall clock stopped suddenly? Honestly, who hasn’t cursed a clock that is running late or making a terrible noise? Don’t panic! Replacing a worn clock mechanism is much simpler than one might think. As an amateur clockmaker for over 15 years, I can tell you that it’s one of the most accessible repairs in the field.
Honestly, I was skeptical at first when my father showed me this technique. But after saving about ten family clocks, I swear by this method. In this complete guide, you will discover how to easily replace a worn clock mechanism in less than 20 minutes, with tools you probably already have at home.
How to Recognize a Worn Clock Mechanism?
Before you start replacing a clock mechanism, you must first ensure that the problem is indeed with the movement and not just a minor malfunction. Here are the unmistakable signs:
- The clock stops completely even with a new battery
- A delay or excessive advance (more than 5 minutes per day)
- Abnormal noises: clicking, squeaking, or irregular ticking
- The second hand that jumps or gets stuck
- The hands that move in jerks
Personally, I had this case last year with my kitchen clock. It was losing 10 minutes every day! After testing three different batteries, I realized that the quartz mechanism was definitely dead.
Note that 85% of wall clock failures are due to wear of the mechanism, according to statistics from professional repairers. The good news? This failure is the easiest to fix yourself.
Tools and Materials Needed for Replacement
The advantage of this repair is that it requires very few tools. Here’s what you will need to replace the worn clock mechanism:
| Tool | Usefulness | Alternative |
|---|---|---|
| Small flat screwdriver | Unscrew the old mechanism | Thin knife |
| Fine pliers | Handle small parts | Tweezers |
| Clean cloth | Clean the hands | Absorbent paper |
| New AA battery | Power the new mechanism | - |
Honestly, that's it! No need for a professional watchmaker's workshop. I did my first replacements with just a screwdriver found in the kitchen drawer.
Choosing Your New Clock Mechanism Wisely
Be careful, not all clock mechanisms are created equal! Choosing the right movement is crucial for the success of your repair. Here are my selection criteria after testing about fifteen different models:
Thickness of the Clock Face
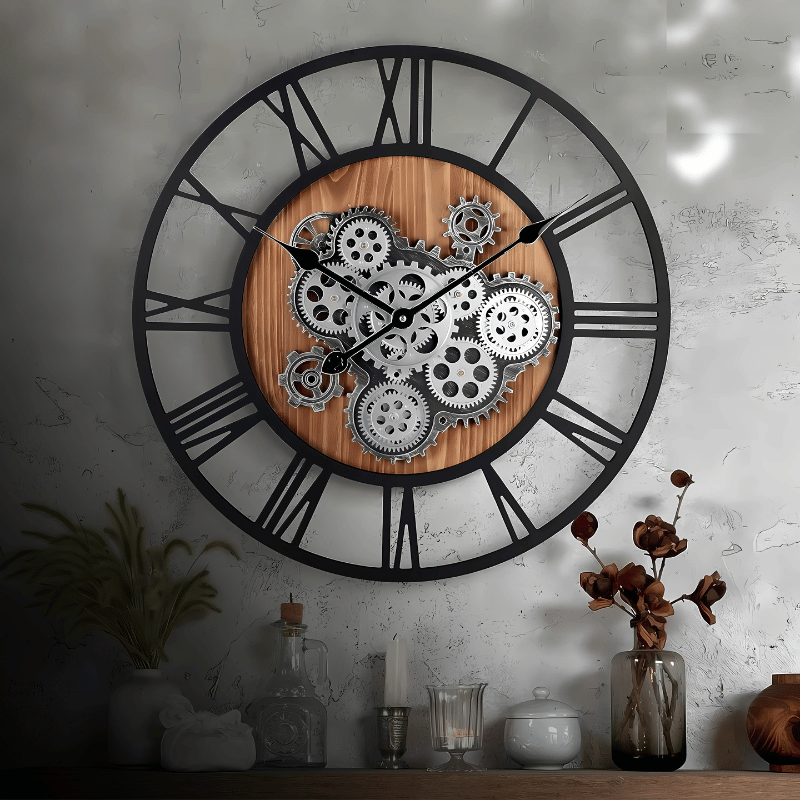
This is THE crucial point often overlooked. Measure the thickness of your clock face with a ruler. Standard quartz mechanisms are suitable for thicknesses of 3 to 6mm. For thicker faces (up to 20mm), opt for a long shaft mechanism.
Type of Mechanism According to Your Needs
- Standard mechanism: perfect for lightweight clocks (less than 500g)
- Extra-strong mechanism: essential for heavy or long hands
- Silent mechanism: my favorite for bedrooms (no audible ticking)
Personally, I always recommend silent mechanisms. Honestly, I was tired of hearing the ticking in the living room! Since I only install this type of movement, it's a joy.
Disassembling the Old Mechanism Step by Step
Now, let's get down to business! Here’s how to replace your worn clock mechanism without damaging anything:
Step 1: Preparation
Remove the clock from the wall and lay it face down on a clean surface. Remove the battery to avoid any risk of short circuit.
Step 2: Removing the Hands
Always start with the second hand. Gently pull it towards you - it usually comes off with just a push. Then remove the minute hand and the hour hand in that order.
Pro tip: mark the position of the hands with a small pencil line before removing them. This will make reassembly easier for you!
Step 3: Disassembling the Mechanism
Turn the clock over. You will see the central nut that holds the quartz mechanism. Unscrew it counterclockwise. Be careful, sometimes there is a washer - don't lose it!
The mechanism can then be easily removed from the back. There you go, the old movement is removed! Simple as pie, right?
Install the New Clock Mechanism
Installing the new clock mechanism follows exactly the reverse process. But a few precautions are necessary:
Step 1: Inserting the New Movement
Insert the shaft of the new mechanism from the back of the dial. Ensure that the mechanism is flush against the dial, with no play or wobble.
Step 2: Fixing
Replace the washer (if present) and then screw on the central nut. Tighten firmly but not excessively - you could damage the threading.
Step 3: Reattaching the Hands
Reattach the hands in order: hour, minute, then second hand. Check that they do not touch each other. This is a classic trap that can block the mechanism!
Step 4: Final Test
Insert a new AA battery and set the time. If everything works, the hands should move smoothly and regularly.
The first time I succeeded in this operation, I admit I was quite proud! Seeing your old clock come back to life is really satisfying.
Common Mistakes to Absolutely Avoid
Through my experiences, I have identified the most common mistakes when replacing a clock mechanism. Avoid them and your repair will be perfect!
- Force the hands: they are fragile and can bend
- Forget the washer during reassembly (the clock will wobble)
- Tighten the nut all the way: you risk cracking the dial
- Neglect the thickness of the dial: the mechanism will not hold
- Use a used battery to test the new mechanism
My worst mistake? I broke the second hand of an old clock by pulling too hard. Since then, I always proceed with extreme care.
The Different Types of Clock Mechanisms
Not all quartz mechanisms are the same. Here is a comparison of the main types available on the market:
| Type | Advantages | Disadvantages | Average price |
|---|---|---|---|
| We sell 100% trail running gear, designed for finishers: bags, jackets, t-shirts, and ultra-light accessories, tested in the field. Made to support you from the first mile to the last, on all paths. | Economical, easy to find | Audible tick-tock | 3-8€ |
| Silent | No noise, ideal for bedrooms | More expensive | 8-15€ |
| Extra-strong | Heavy hands, large size | Consumes more | 10-20€ |
| Clock | With decorative pendulum | Bulky | 15-30€ |
My advice? Invest in a quality silent mechanism. The price difference is minimal compared to the comfort of use. You'll thank me!
Tips to Extend the Life of Your Mechanism
A well-maintained clock mechanism can last 10 to 15 years! Here are my tips to optimize its longevity:
- Change the battery regularly: a leaking battery can damage the mechanism
- Avoid shocks: move the clock carefully
- Clean the hands: dust can jam the mechanism
- Check the alignment: hands that touch wear out the motor prematurely
Honestly, since I started applying these tips, I haven't had to replace a clock mechanism for at least 8 years of use.
Frequently Asked Questions about Replacing Clock Mechanisms
How much does a new clock mechanism cost?
Prices range from 3€ for a basic quartz mechanism to 30€ for a high-end model with a pendulum. Expect to pay 8-12€ for a good silent mechanism.
How long does it take to replace a mechanism?
With a little experience, replacing a worn clock mechanism takes a maximum of 10-15 minutes. Allow 30 minutes for your first time.
Where to buy a replacement mechanism?
You will find clock mechanisms in hardware stores, watch shops, or online. Amazon and eBay offer a wide selection at competitive prices.
What to do if the hands are bent?
Slightly bent hands can be gently straightened with fine pliers. If they are broken, they need to be replaced - they cost 2-5€ per pair.
My clock is still losing time after the change?
Check that the battery is new and that the hands are not touching. If the problem persists, the new quartz mechanism may be faulty.
Can a broken mechanism be repaired?
No, modern clock mechanisms cannot be repaired. It is more economical and simpler to completely replace the mechanism.